


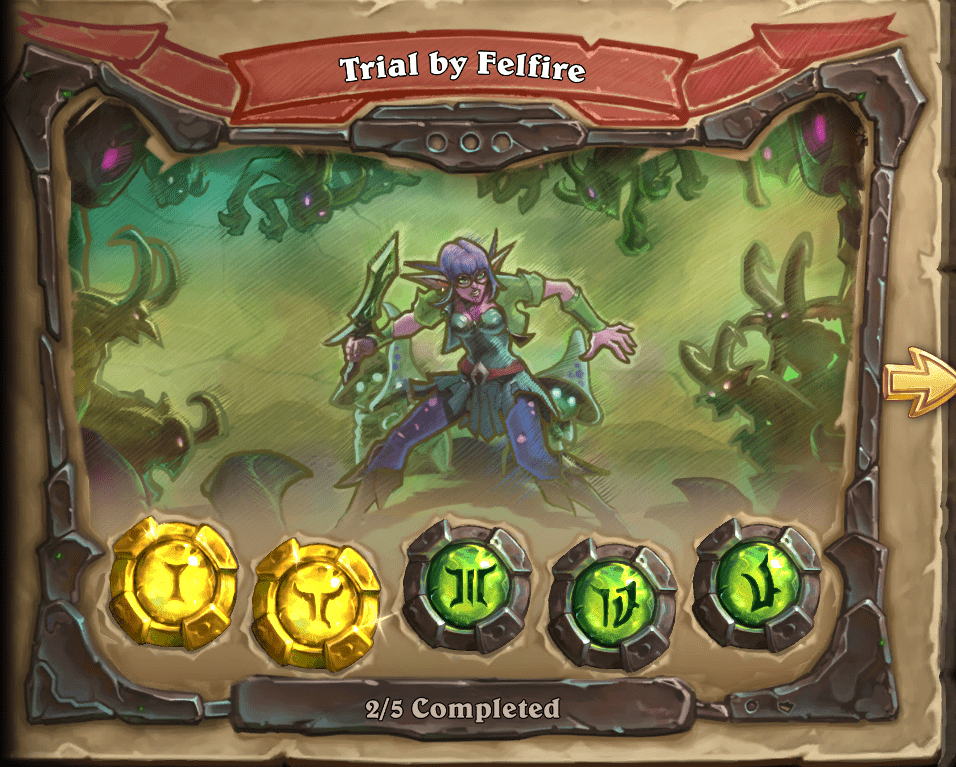
In the first chapter of the new Hearthstone solo adventure, Trial by Felfire, Aranna Starseeker faced down fearsome acolytes of the Rusted Legion — but she wasn’t alone. Aranna added Shalja the Naga Shaman, Sklibb the Sporelok and Karnuk, a Mag’har Orc to her crew.
In Chapter II, “To the Black Temple,” Aranna and the gang make their way to the Black Temple itself in search of Illidan Stormrage.
Encounter 1: Kanrethad Prime
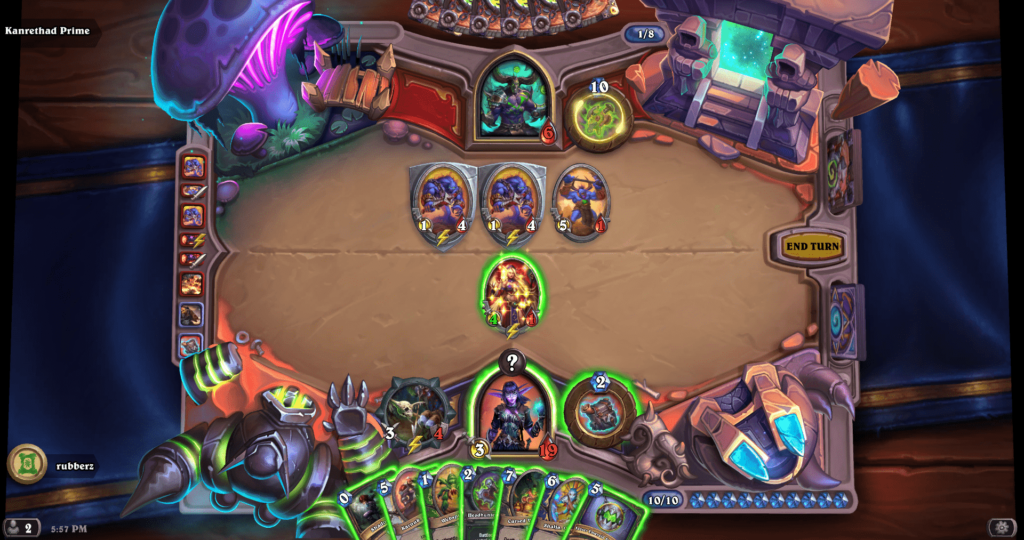
Hero Power: (10) Rebuild from Scrap: Summon 3 friendly Demons that died this game. Destroy 4 of your mana crystals.
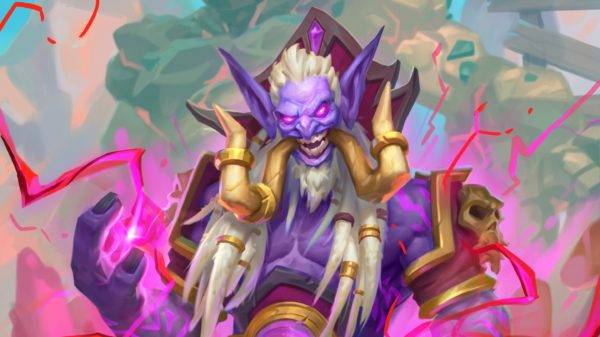
Much like Zixor, the Apex Predator from the last chapter, Kanrethad Prime is a Legendary minion turned boss in Trial by Felfire. He is spawned from a Legendary Warlock card called Kanrethad Ebonlocke.
Tips:
- Arrana’s deck generates Secrets fairly easily, which means Secretkeeper is always a solid early play.
- Try to save your Blackjack Stunner’s Battlecry for Nightshade Matron; you won’t just mess with Kanrethad’s tempo, you’ll also make him discard his two highest-cost cards.
- Desperate Dreadlord, which is spawned from Enhanced Dreadlord’s Deathrattle, is also a good Blackjack Stunner removal target due to its solid stats and Lifesteal ability.
- Ambush and Venomstrike Trap are strong Secrets to play early game; the Broken Ambusher and Emperor Cobra minions they summon will be useful for clearing Kanrethad’s bulky minions such as Rustworn Champion and Enhanced Dreadlord.
- Save your Betrayal spell for when Kanrethad has Enhanced Dreadlords and Battlecry-bolstered Hooked Reavers on the board.
- Dire Frenzy + Hyena Alpha = feelsgoodman.
Encounter 2: Burgrak Cruelchain
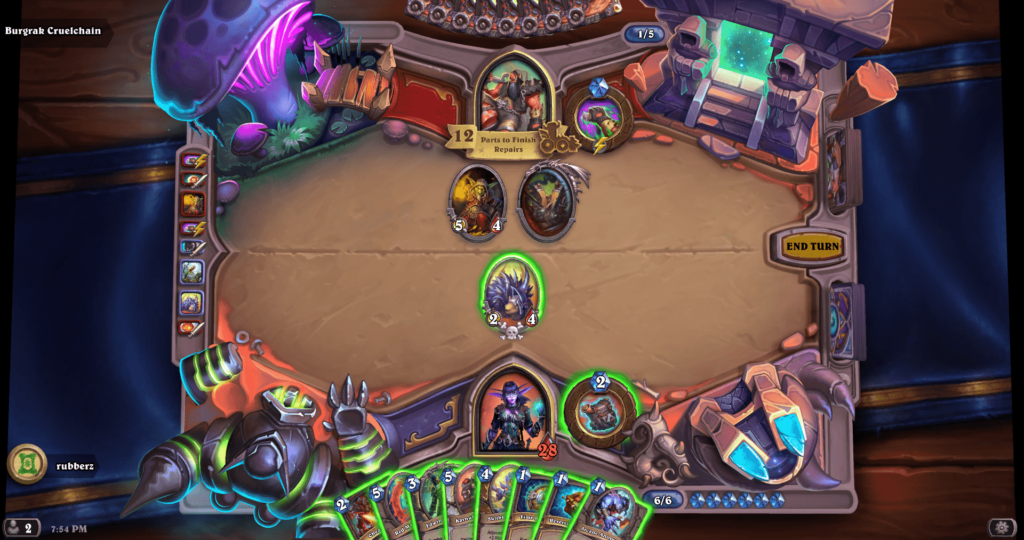
Passive Hero Power: Grease Monkey: After ANY mech dies, give both players a Spare Part.
Your objective in the Burgrak fight: clear Mechs as quickly as possible. You’ll acquire Spare Part cards through Burgrak’s Grease Monkey Hero Power; each time you play a Spare Part, you get one step closer to powering up the Demolisher, which wins the match. Just make sure Burgrak’s minions don’t bring your health down to lethal before you can bring the Demolisher back from dormancy.
Tips:
- Use Cheat Death in conjunction with Baduu, Outcast; lay Sklibb, Outcast in between Baduu on the board to ensure she’s targeted.
- An effective method of clearing enemy Mechs and gaining Spare Parts is to set up Karnak, Outcast next to Sklibb and destroying enemy Goblin Bombs; Karnak’s Lifesteal will heal up the damage caused by the Goblin Bomb’s Deathrattle.
- Use Ashtongue Slayer in conjunction with Spymistress to clear minions in the 6-HP-range like Burgly Bully and Fel Cannon.
- Save up Spare Part cards to bolster Questing Adventurer, Biteweed and Edwin Van Cleef minions to beastly levels. These cards also work great as Taunt minions alongside Sklibb.
- Play Toshley as soon as possible to expedite the Spare Parts-accruing process. Use Time Rewinder Spare Parts to bring Toshley back onto the board myriad times.
Encounter 3: Felstorm Run
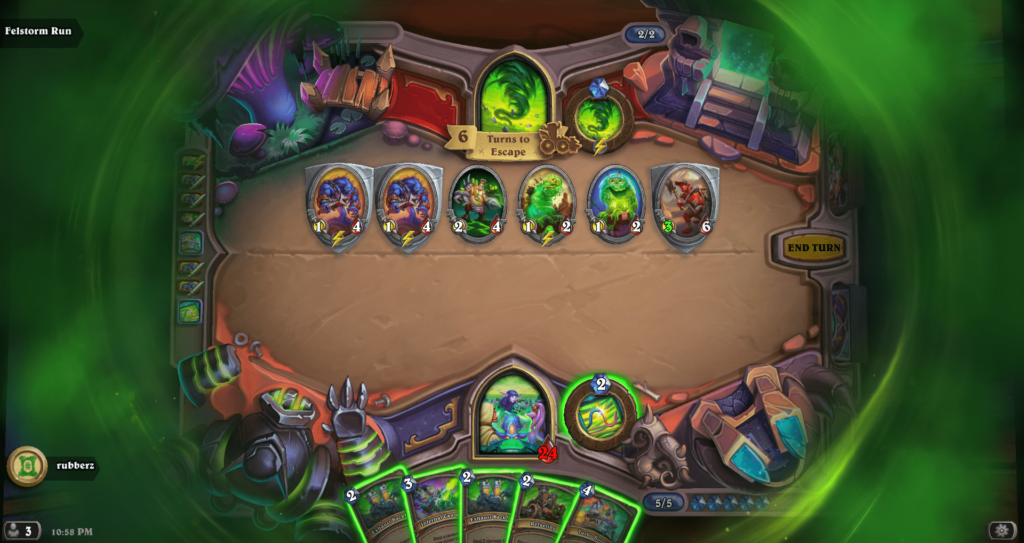
Passive Hero Power: Felstorm Tornado: Angry minions are falling out of the Felstorm!
The Felstorm Run is an escape mission. You must survive ten turns (or more if you use Refueling) to escape the Felstorm, which plays one or more minions at random every turn.
Tips:
- Ideally the first turn you should be able to use your Hero Power to clear the enemy minion from the board. After that, use your Hero Power when you’re sure you’ll be able to clear at least one or more enemies from the field.
- If you can help it, try not to play Refueling unless you absolutely have to; if you, ahem, play your cards right, you shouldn’t need it.
- If the Felstorm plays a Blistering Rot, try to keep it alive; it’s one of the weakest minions you can face and when it summons a Living Rot at the end of each turn, that’s one less more powerful minion being thrown into the mix. If this meaning ending your turn without taking any action against the Rot, feel free.
- Once Felstorm starts filling the board with more enemies, stave off their attack with Taunt minions such as Tar Creeper and Stegodon.
- Use Exhaust Backfire only when you’re sure you can clear all enemy minions off the board; the spell works great when the Felstorm has tossed one or more Mo’Arg Artificer minions (which double the damage minions take from Spells) onto the field.
- I can’t believe I’m actually saying this but Target Dummy is actually a good card, particularly in this encounter; it has made the difference for me a few times in holding off enemy minions for the turn I needed to escape.
- If the enemy minions are all low-attack and you’re able to play Turbo Boost, do it every time.
- If you’re able to play two Turbo Boost spells in a row by Turn 8 to bring your Turns to Escape down to zero, do it.
- Aim to bring enemy minions like Supreme Abyssal and Scrapyard Colossus to your side of the board with Infernal Cannon. Deathrattle enemies such as If not, use it when there are two strong enemy minions on the board to eliminate one and bring the other to your side
Encounter 4: Mother Shahraz
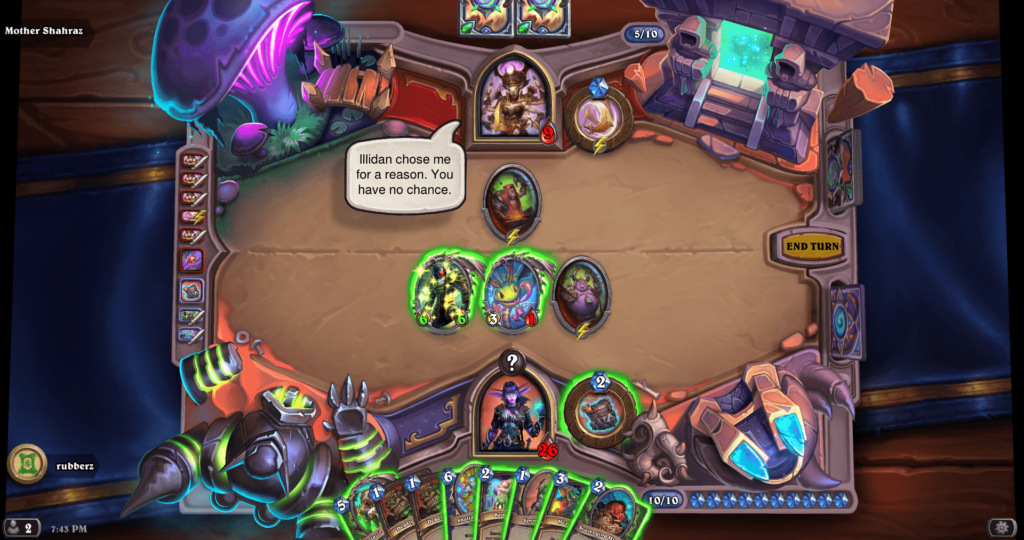
Passive Hero Power: Parry and Riposte: The first time you are damaged each turn, prevent it and counterattack!
Mother Shahraz, the dreaded shivarra boss from World of Warcraft’s Black Temple raid from the Burning Crusade expansion is the fourth encounter in the Trial by Felfire solo adventure. Just like her raid boss counterpart from WoW, Mother Shahraz in Hearthstone can be a very difficult fight. Here are some tips to make Mother Shahraz cry, “Uncle!”
Tips:
- Always save Headcrack for a combo so you can continue using it as the first attack against Mother Shahraz’s Parry and Riposte Hero Power. After using Headcrack, any minions you’ve built up on the board can attack Shahraz directly.
- Establish board presence with Sklibb as soon as possible and do your best to make sure he stays alive; keep a Taunt wall going all game to stave off enemy minions.
- Karnuk, Outcast is always a strong play when you’re ahead on the board; Shahraz will try to remove him with other minions or equip a Fool’s Bane weapon and attack him directly, which ends up healing Aranna a healthy amount when she does so.
Hopefully our Hearthstone Trial by Felfire walkthrough helped you guide Aranna and crew past Mother Shahraz in the Black Temple. If you have any questions or concerns, feel free to drop a line in the comments.
Up next: Hearthstone Trial by Felfire Chapter 3 walkthrough.
Or jump ahead to our Chapters 4 & 5 walkthrough.


You must be logged in to post a comment Login