


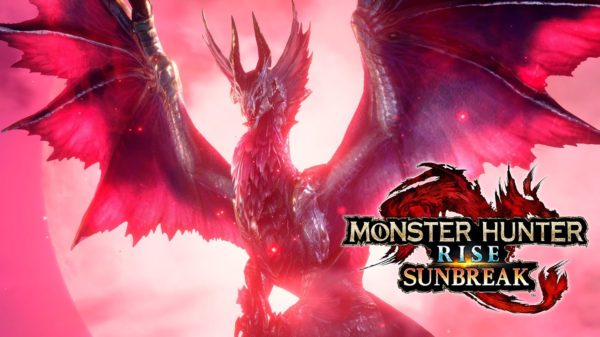
If you’ve never played a Monster Hunter game before, then you’re likely having trouble learning the basic controls, set ups, and strategy of Monster Hunter Rise for the Nintendo Switch. While MHR takes after its predecessor, Monster Hunter: World when it comes to being more accessible to a casual audience, there is still a lot to unpack. Without proper guidance from a series veteran, it’s possible that you’re missing a thing or two that could really optimize your gameplay and make you feel like a real hunting master.
Whether you’re just now picking up the game, or you’ve been playing it for a little while but still feel like you’re missing something with the game’s mechanics, this Monster Hunter Rise Beginner Guide is for you. In Part One, I will go over the best loadouts, how to craft potions and other items, how to transfer items from the box to your pouch, where to get food, what Dangos do, and how to get Dango tickets.
Packing Up
Capcom
Before you pick your quest and start your hunt, you’re going to want to get your items in order. You need to make sure you’re prepared for every hunt and aren’t going to starve to death or be caught without a way to heal if you happen to take heavy damage.
To fill up your item pouch (your inventory for the hunt), you want to find one of the many item boxes laying all around the hub world. This is where you transfer items between your hunter’s item pouch inventory and your stored inventory. This is also where you can swap out equipment, but we’ll talk about that later. You want to open up your item box, go to Transfer Items, hit ZR to tab over to your Item Box, and take what you need for your hunt. I would recommend also hitting ( – ) while on the inventory, in order to auto sort and bring your usable items right to the front page. You’ll need to do this before every hunt to make sure you have potions, food, and other items that may be useful – but we’ll go over how to speed up the process later.
Some of the most important consumable items you’ll want to take include:
- Potions and Max Potions: These are by far the most important items you’ll want in your item pouch. They’ll keep you healed up mid fight and stop you from dying. Remember – you only get three lives, so heal up often to stop yourself from dying and losing some of that sweet sweet reward gold.
- Ration and Well Done Steak: Food is important for keeping your stamina high. Your max stamina slowly degenerates over the hunt, and chowing down is how you bring it back up to full capacity. You’ll want energy for running and Wire Bugging around. Some weapons also require quite a bit of energy to pop off with, unless you want to rest after every combo you attempt.
- Nulberry: Nulberries cure a variety of blights, such as waterblight. This is a status ailment inflicted by some monsters – if you notice that your yellow stamina has turned blue and is recovering slowly – you have waterblight and need to pop a Nulberry to cure it.
- Deodorant: Deodorant, like Nulberries, is useful for curing certain ailments. You’ll mostly use deodorant to cure stench, an ailment that prevents you from using other items like food and potions.
- Energy Drink: This item boosts your stamina a bit, but more importantly, if you get drowsy due to a monster’s attack, this will wake you right up. Drowsiness stops you from attacking or using most items and puts you to sleep unless a teammate smacks you or you use an energy drink.
- Antidote: You probably could have guessed this, but antidotes cure poison. Poison turns your health bar purple and makes it slowly drain until you use an antidote or a certain amount of time has passed. Like Deodorants, Energy Drinks, and Nulberries, you won’t use Antidotes on every single hunt, but if you happen to be fighting a monster that poisons you, you’ll be very happy you have it.
Consumables aren’t the only helpful items to take on a hunt. Sometimes you’ll want items that’ll hinder (or hurt) the monster and give yourself an opportunity for a big combo or a chance to heal up and sharpen your weapon. I recommend always having:
- Pitfall and Shock Traps: These two items play a key role in how you capture monsters, but can also be used for trapping them for a few seconds to get off a couple hundred points of damage.
- Tranq Bombs: These are the other half of the formula for capturing monsters. Once you have a monster trapped, throw a couple of these in its face and if it’s weak enough – voila. That’s about the only purpose of this item, but it is an important purpose none the less.
- Flash Bombs: These items will blind the monster for a few seconds, most of the time giving you a great opportunity to close some space and get in a combo or two. This doesn’t stop the monster from flailing around blindly though so be careful.
- Barrel Bombs: These are a little hard to hit, you have to set them up, then either hit them or throw a kunai at them. They’ll blow up and do big damage if you can hit them.
- TIP: Monsters will occasionally run away and sometimes they’ll go to sleep. This is a good chance to set up a couple bombs right by their face and give them an explosive alarm.
- Tinged, Poisoned, and Drugged Meat: These are bait traps you can set for the monster that will inflict different status ailments to them. Stunning a monster or putting it to sleep, as mentioned before, is a great way to get some damage off. Be aware that attacking a sleeping monster will wake it up though, so make sure to lead with the damage dealer.
How to get Items
Capcom
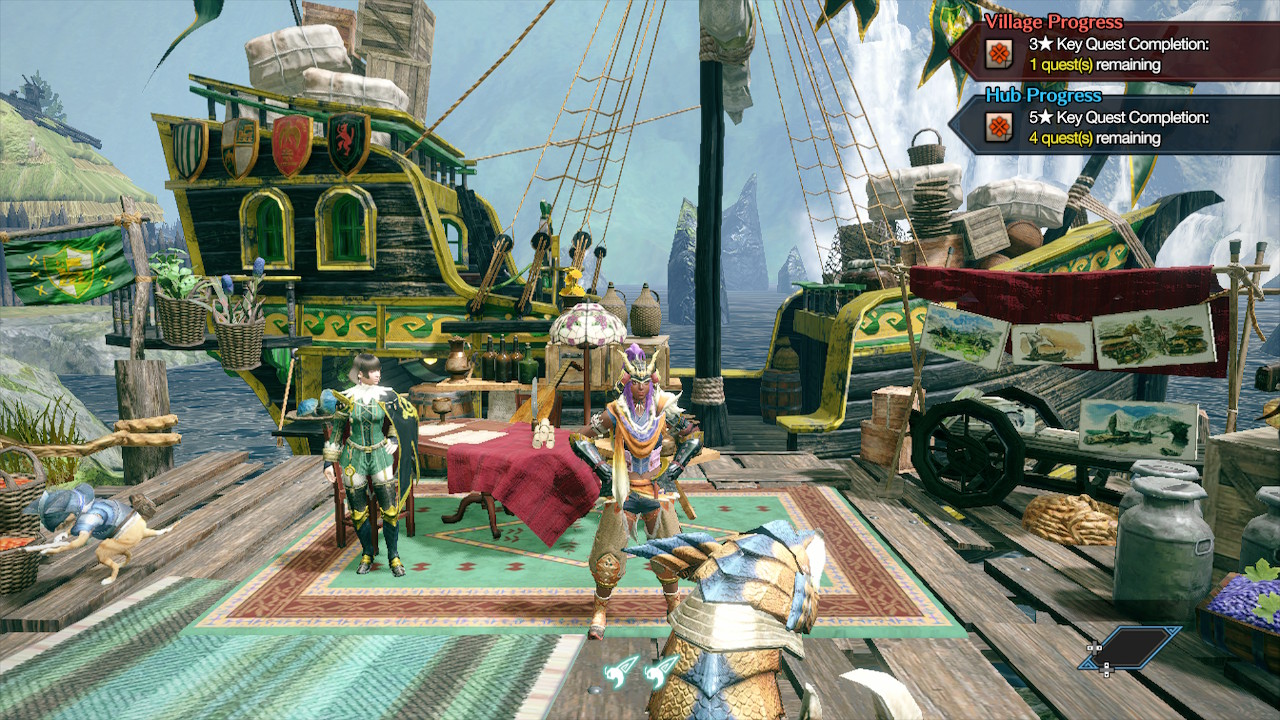
Now you know which items you should be taking, but how do you get those items? Depending on the item, you’ll either buy them from one of the merchants around town, or you’ll craft them yourself in the Item Box using resources you’ve gathered during hunts.
To craft, just go to your Item Box > Crafting List. You can craft anything here that is not grayed out. Crafting uses materials that you’ve collected and items that you’ve either crafted from hunts or bought at a merchant. For example, you can create a Mega Potion from a potion (bought from a merchant or crafted from Herb) and a Honey (gathered from hunt). After you craft your items, you’ll want to make sure you transfer them from your box to your inventory.
Crafting is good for the big ticket items, but if you just need to stock up on some regular potions or Tranq bombs, you’ll want to head to a merchant. You can either go to the Gather Hub and talk to Maido the Merchant (the cat at the counter), or you can head to Steelworks and talk to Kagero the Merchant (the masked man). These merchants are also where you’ll buy a bulk of your ammo – if you run one of the ranged weapons.
When you buy from a Merchant you can either buy for your Item Pouch or your Item Box. If you buy for your Item Pouch you’ll only be able to buy a limited number of items – this is because you can only carry a certain number of each item in your pouch. I prefer to buy in bulk for my Item Box and then go transfer what I can to my Pouch afterwards. However sometimes you may feel a bit lazy and just want to buy what you need for the next hunt — in which case just go ahead and buy for your pouch.
Loadout
Capcom
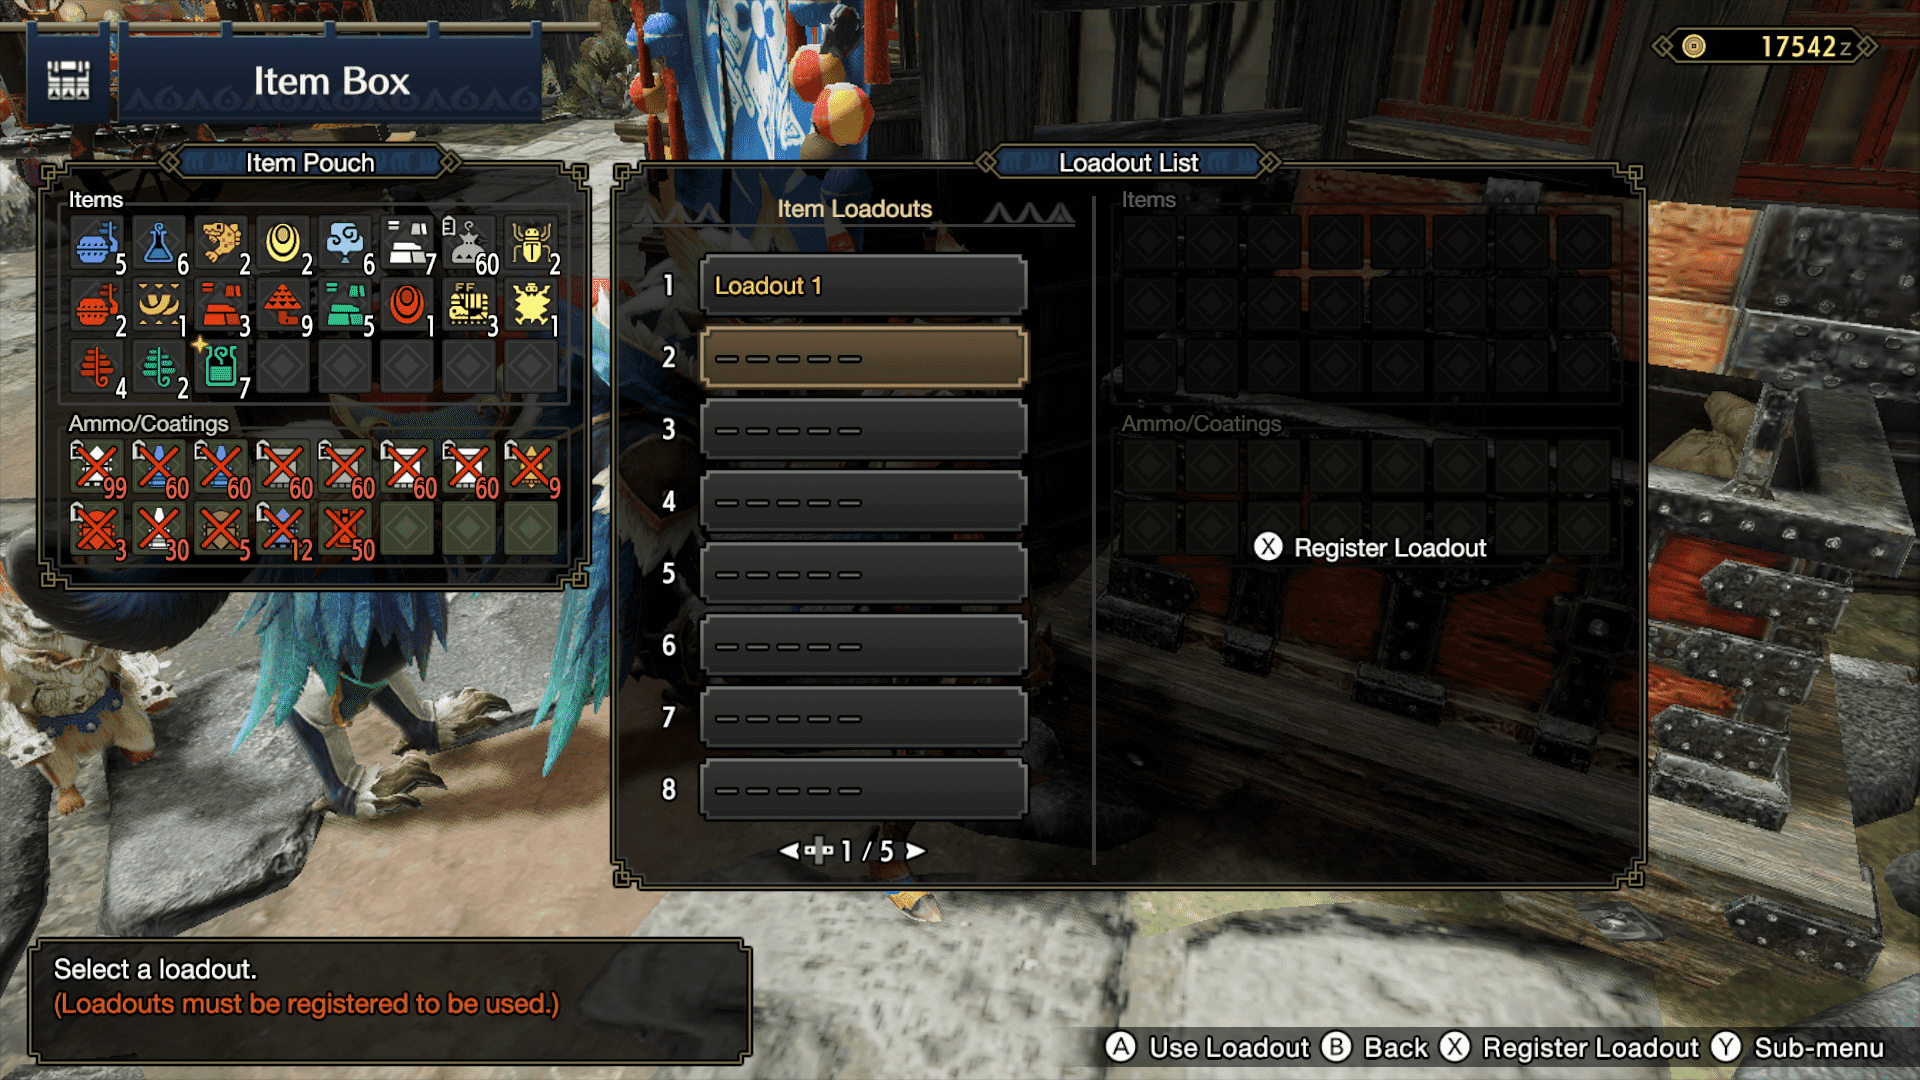
Now that you know which items you’ll want to take and how to get them, let’s talk about what a loadout is and how to create a loadout. You can create an item load out at your box, and fill it with the items you’ll want to take on every hunt. Then, instead of going through your box and pulling out every item you want individually and restocking them manually, you’ll be able to just go to your load out and press A two times.
First stock up your item pouch. Go to the Item Box and transfer the items you’ll want to take on every hunt.
TIP: Press X while on your Item Pouch to restock all of your items to their max quantity. Once you have everything, go to Manage Items > Item Loadouts. Choose which space you want this loadout to be, and press X to assign that space to this loadout.
Now, when you want to stock up on your items, you can go back to Item Loadouts, and just use A to automatically replace your current Item Pouch with your Loadout.
Note that this replaces your items. So if you have an item you want in your pouch, but it isn’t in your inventory, then you’ll need to make sure to grab it from your Item Box again.
Dangos
Capcom
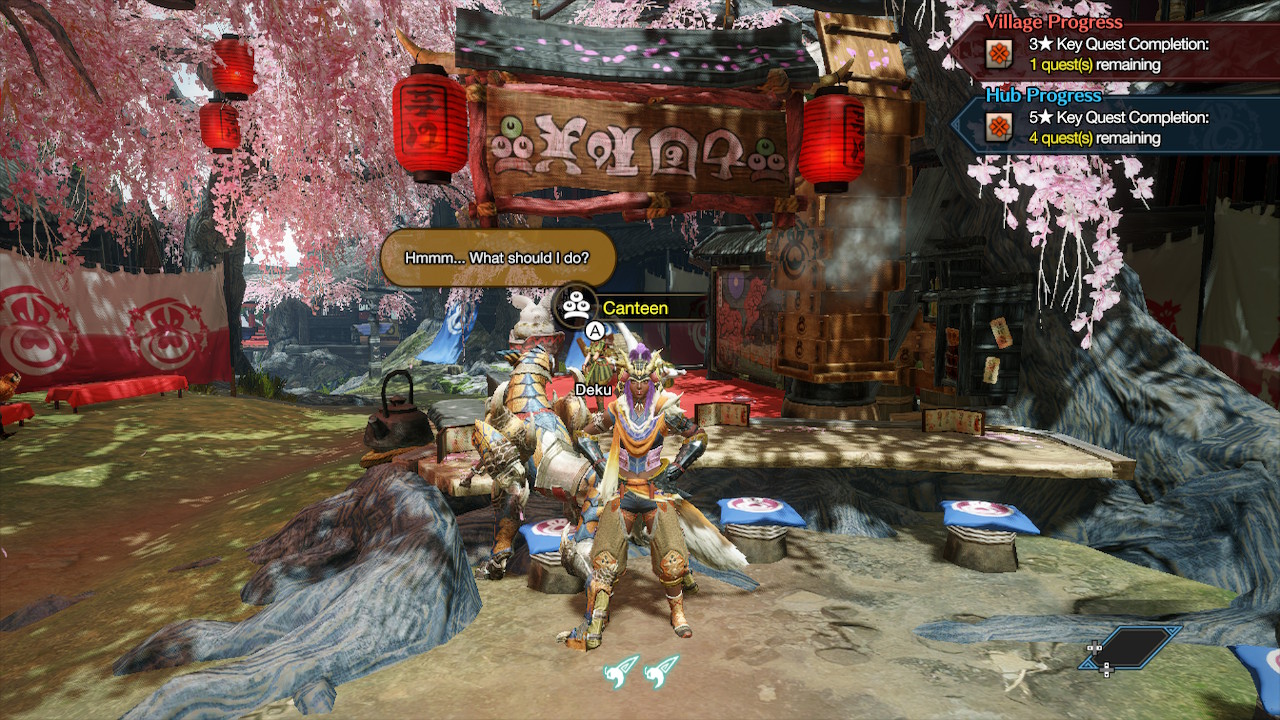
Before every hunt you go on, you’re going to want to eat a Dango. What do Dangos do, you might ask? Well they do just about everything. To order Dangos you can go to the Canteen in Steelworks (next to Yomogi the Chef), or you can go to the Gathering Hub’s Canteen. Remember, to teleport you can just hold the ( – ) button to teleport. Now just take a seat, and choose 3 Dangos that you’d like to eat. Choosing which Dangos to eat is rather simple, but with so many options it can be overwhelming. If you want to know the best Dango to choose, just think about how you play. If you are going to do any easy quest, take a Dango Calculator and get some extra points. If you tend to tank a lot of damage, take a Bestnut Dango so that you’ll take a little less every now and then.
Once you pick your Dangos, it’s time to look at how Dangos work. Each Dango has an activation chance. This means not every Dango will activate before every hunt. So, why eat Dangos when it’s not a guaranteed buff? They also increase your maximum health, making you tankier. On top of that, you’ll likely have one or two activate, giving you most of the buffs you want. And on top of both of those boosts (just like a triple stack Dango), you can always use a Dango Ticket to increase the activation chance substantially and guarantee you get all three buffs every time.
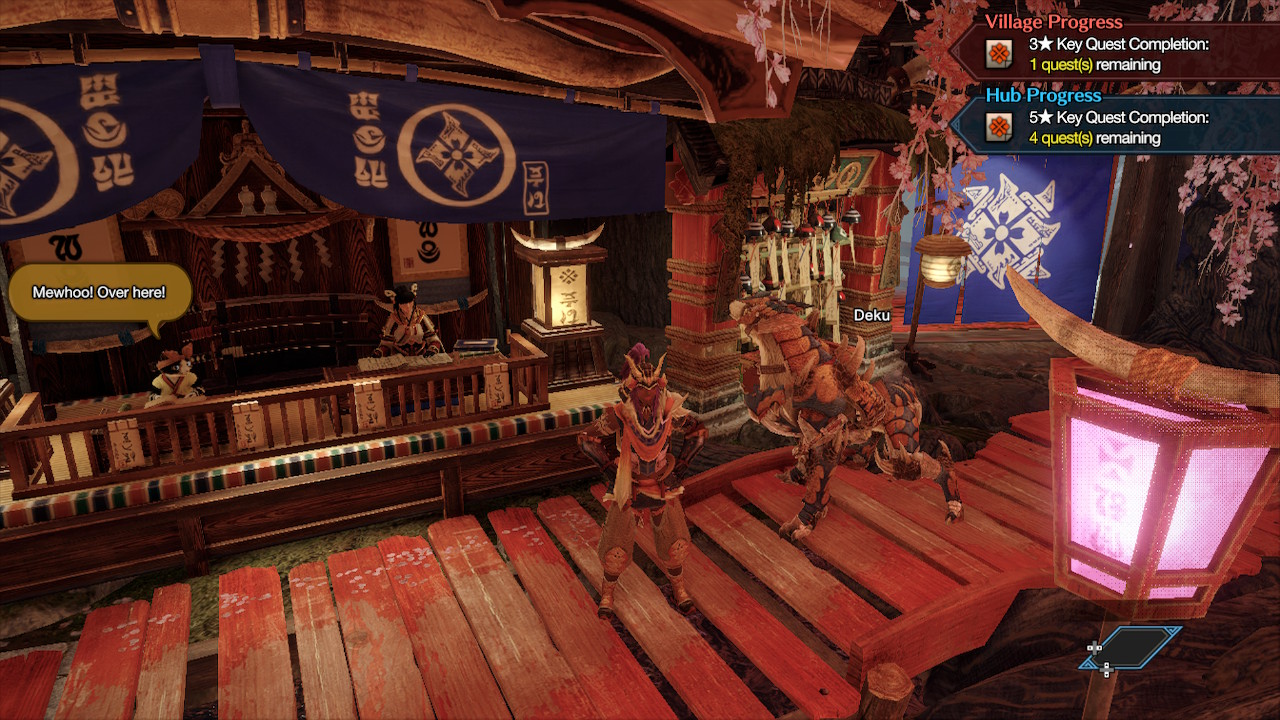
Now we’ll go over how to get those sweet, premium Dango Tickets. To get Dango Tickets, you have to talk to Yomogi the Chef in Steelworks. She’s the one standing on the red stage next to the Gathering Hub, making the Dango dough. Every now and then she’ll have an orange speech bubble and will give you some Dango Tickets when you talk to her. I have discovered a way to get Dango Tickets from her anytime you run out. This will give you a 100% Dango Activation Chance every time, and make sure you’re more than prepared for your hunt.
How to get Dango Tickets:
- Buy Raw Meat from Rondine the Trader in the Buddy Plaza (Exchange for Items > Trade Goods)
- Go sit at the Canteen in Steelworks (the main plaza)
- Order a Motley Mix and cook all of the Raw Meat that you just bought
- Now go talk to Yomogi the Chef right next to the Canteen, she should give you your tickets and now you will have all guaranteed Dango Activation.
Conclusion
This concludes the Gearing up section of the Monster Hunter Rise Beginner Guide. Remember the most important steps to take before a hunt are: Grab your loadout, eat your Dangos and restock any items that you’re low on. No matter what skill level you are or how difficult the quest, you’ll want to follow these steps every hunt if you want to head in fresh and ready to carve up whatever unlucky monster you chose.


You must be logged in to post a comment Login