


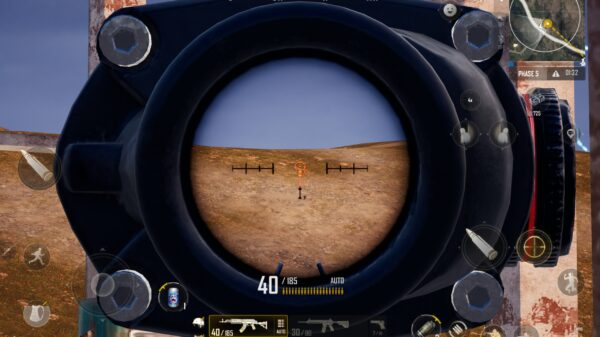


Some players like to take gaming screenshots for various reasons. One good reason for capturing in-game snapshots is to share in-game milestones, such as great scores or victories in multiplayer matches, via social media for bragging rights. For example, winning a battle royale match with 15 kills is something to shout about with screenshot proof. Screenshots of 3D games with good graphical quality can also make for groovy Windows desktop wallpaper.
The PlayStation 5, Switch 2, and Xbox Series X consoles have built-in screenshot tools. However, Windows PCs include a wider variety of screenshot tools with which players can capture in-game snapshots. These are some of the ways you can take gaming screenshots on Windows PCs.
Press the Print Screen Key
A simple way to capture gaming screenshots on Windows PCs is to press the PrtScn keyboard key. Start a game and then press PrtScn at the moment you want to capture a snapshot. That copies a screenshot to the Windows Clipboard, which you should paste into image-editing software for saving. Paint is a software included in Windows in which you can paste screenshots by pressing the Ctrl + V hotkey.
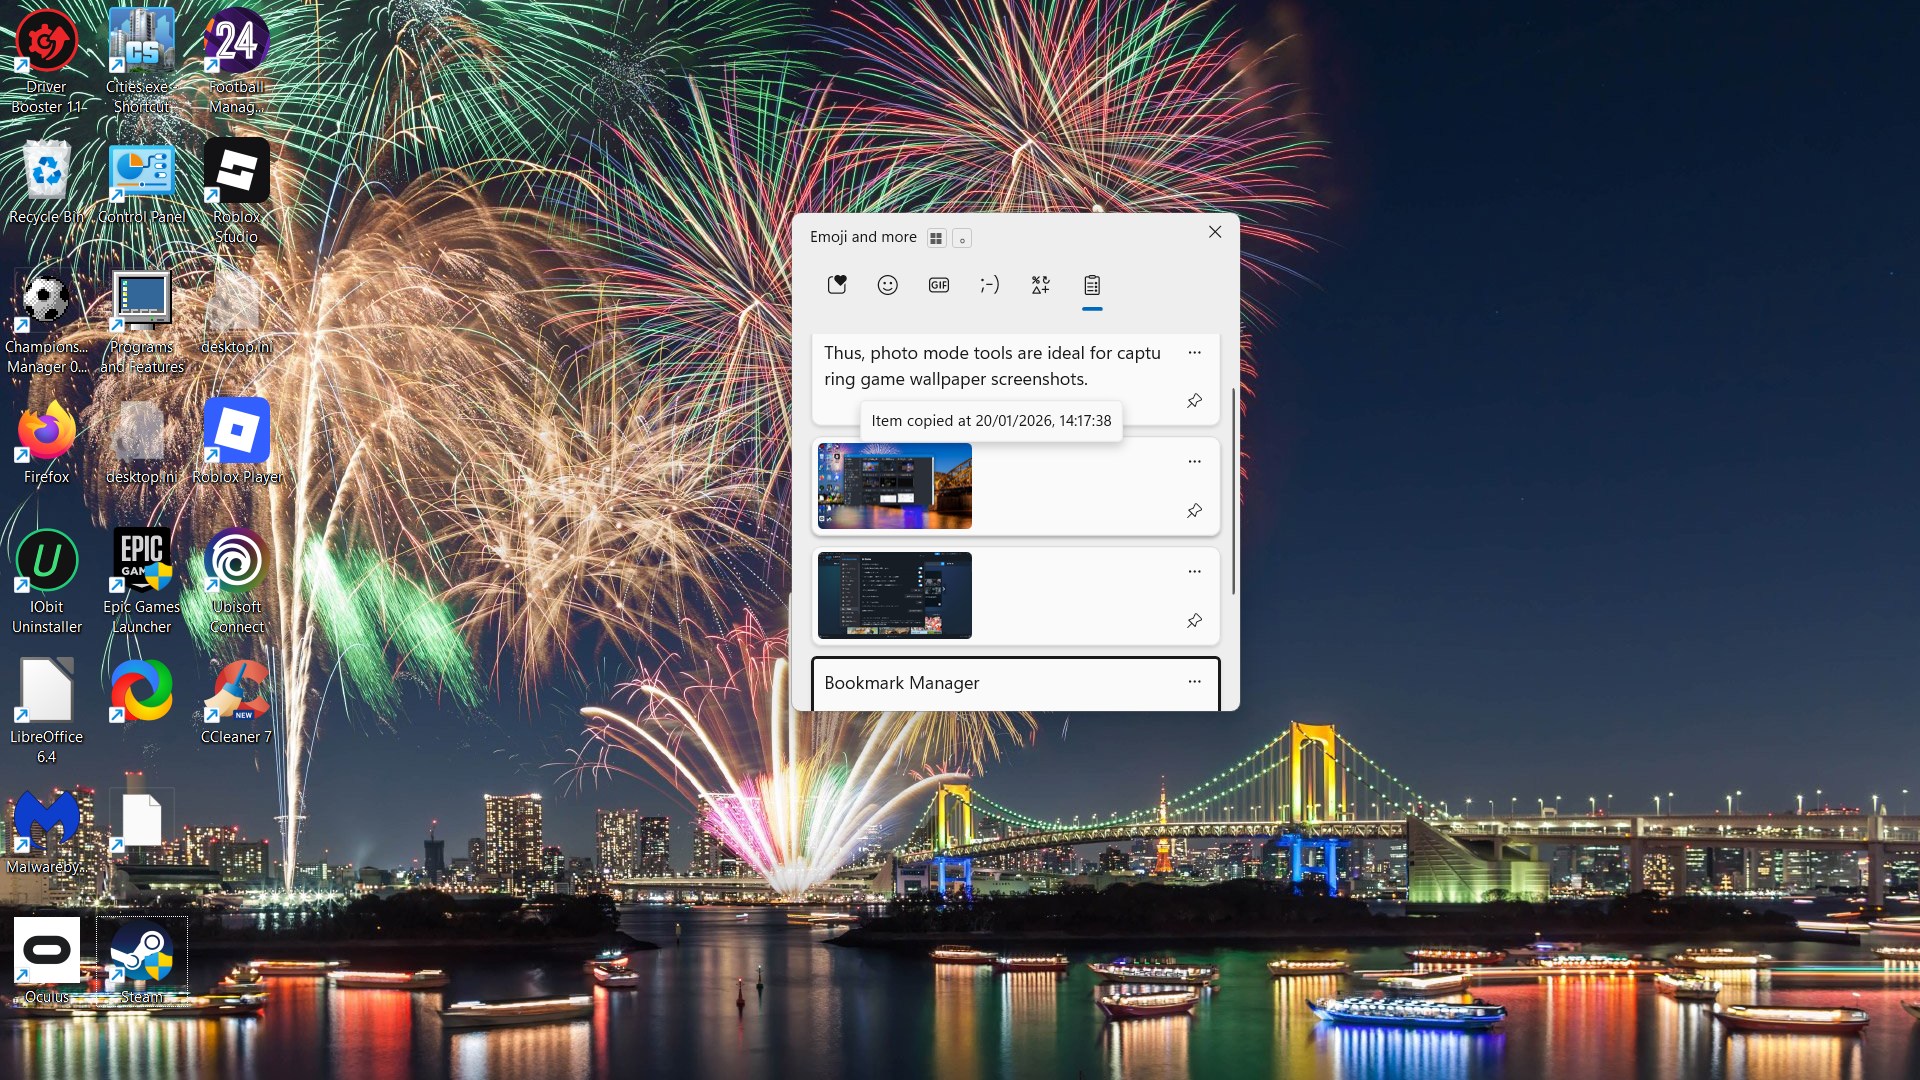
Alternatively, try pressing the Windows + PrtScn hotkey when playing a game. That hotkey automatically saves screenshots taken to a Screenshots folder. You can find game snapshots captured by opening File Explorer and navigating to the C:\Users\[User Name]\Pictures\Screenshots folder path.
Take Gaming Screenshots With the Xbox Game Bar
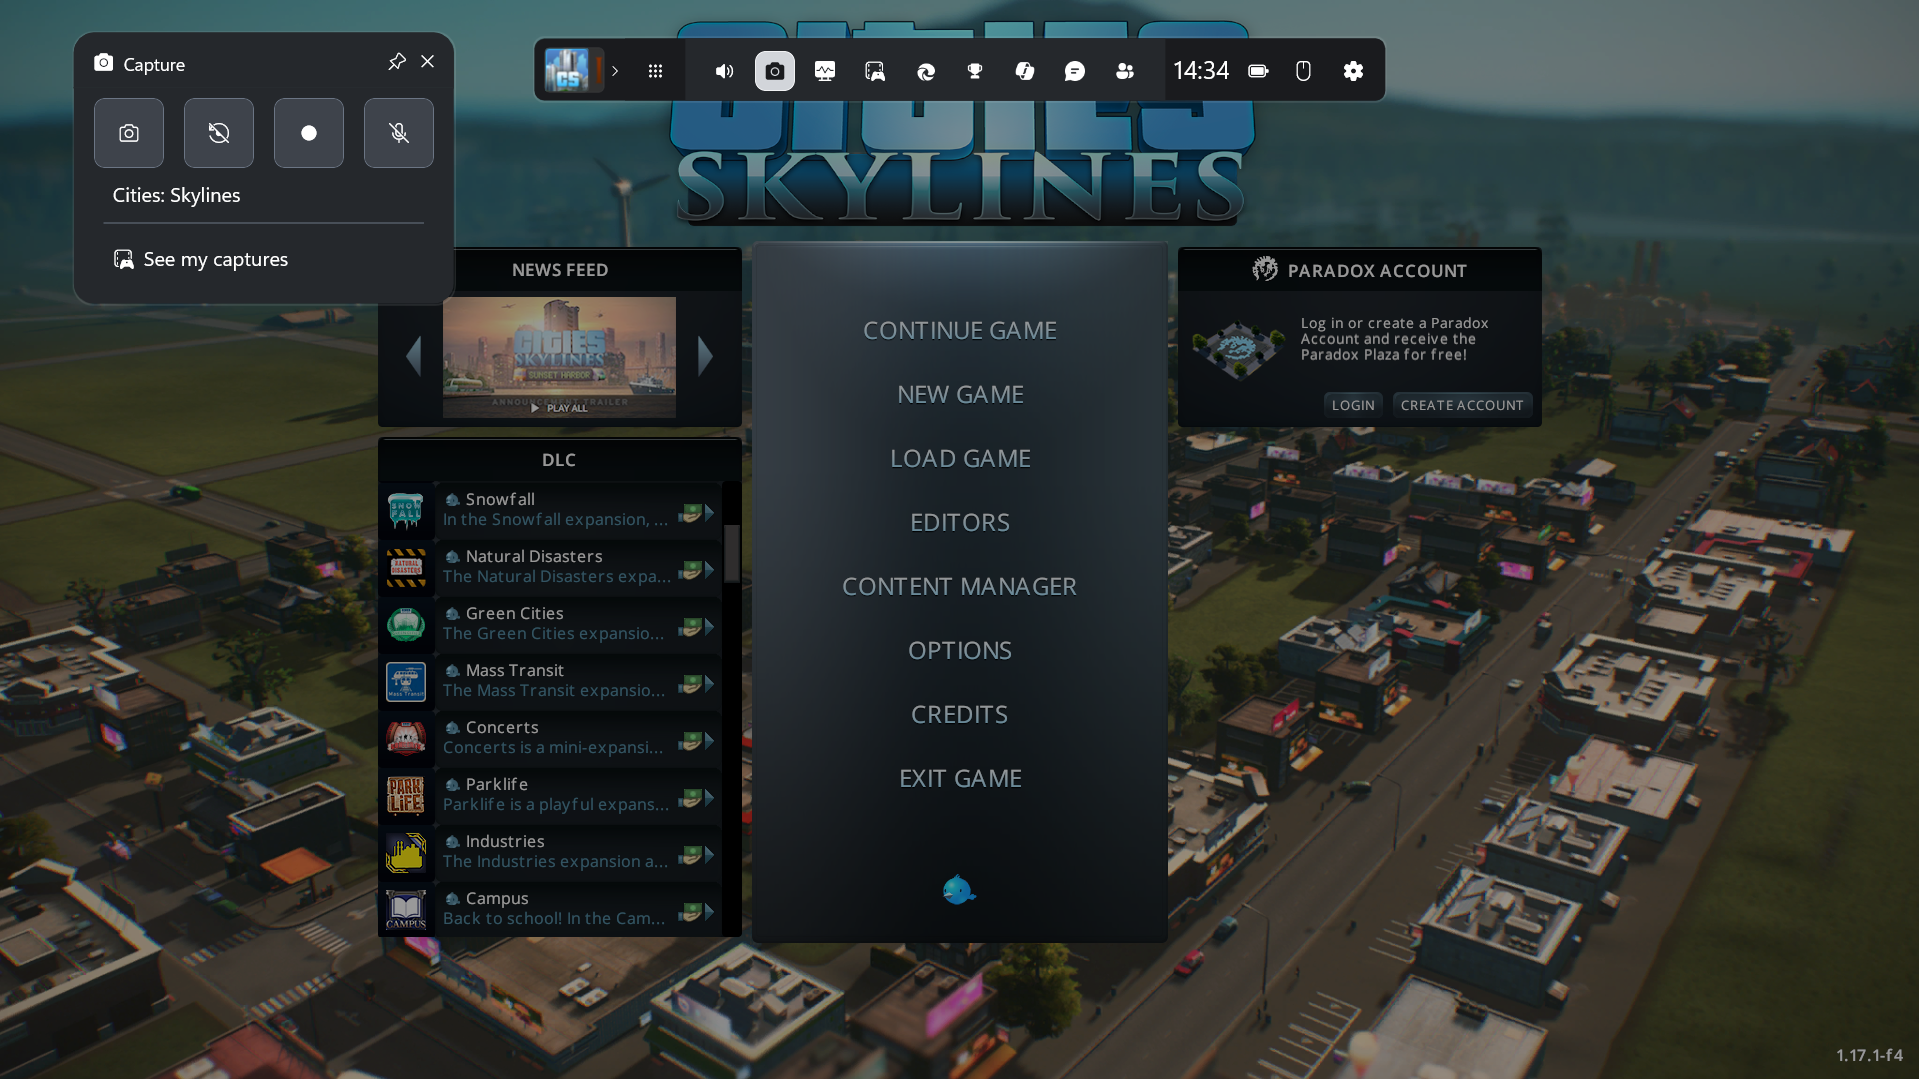
The Xbox Game Bar is a pre-installed Windows 11/10 overlay app that includes a variety of gaming tools for players. Among them is a tool for capturing in-game snapshots. These are the steps for capturing gaming screenshots with the Xbox Game Bar:
- Start playing a game from which to take gaming screenshots.
- Press the Windows + G hotkey to activate the Game Bar overlay.
- Click on the Capture button.
- Press the Take Screenshot button.
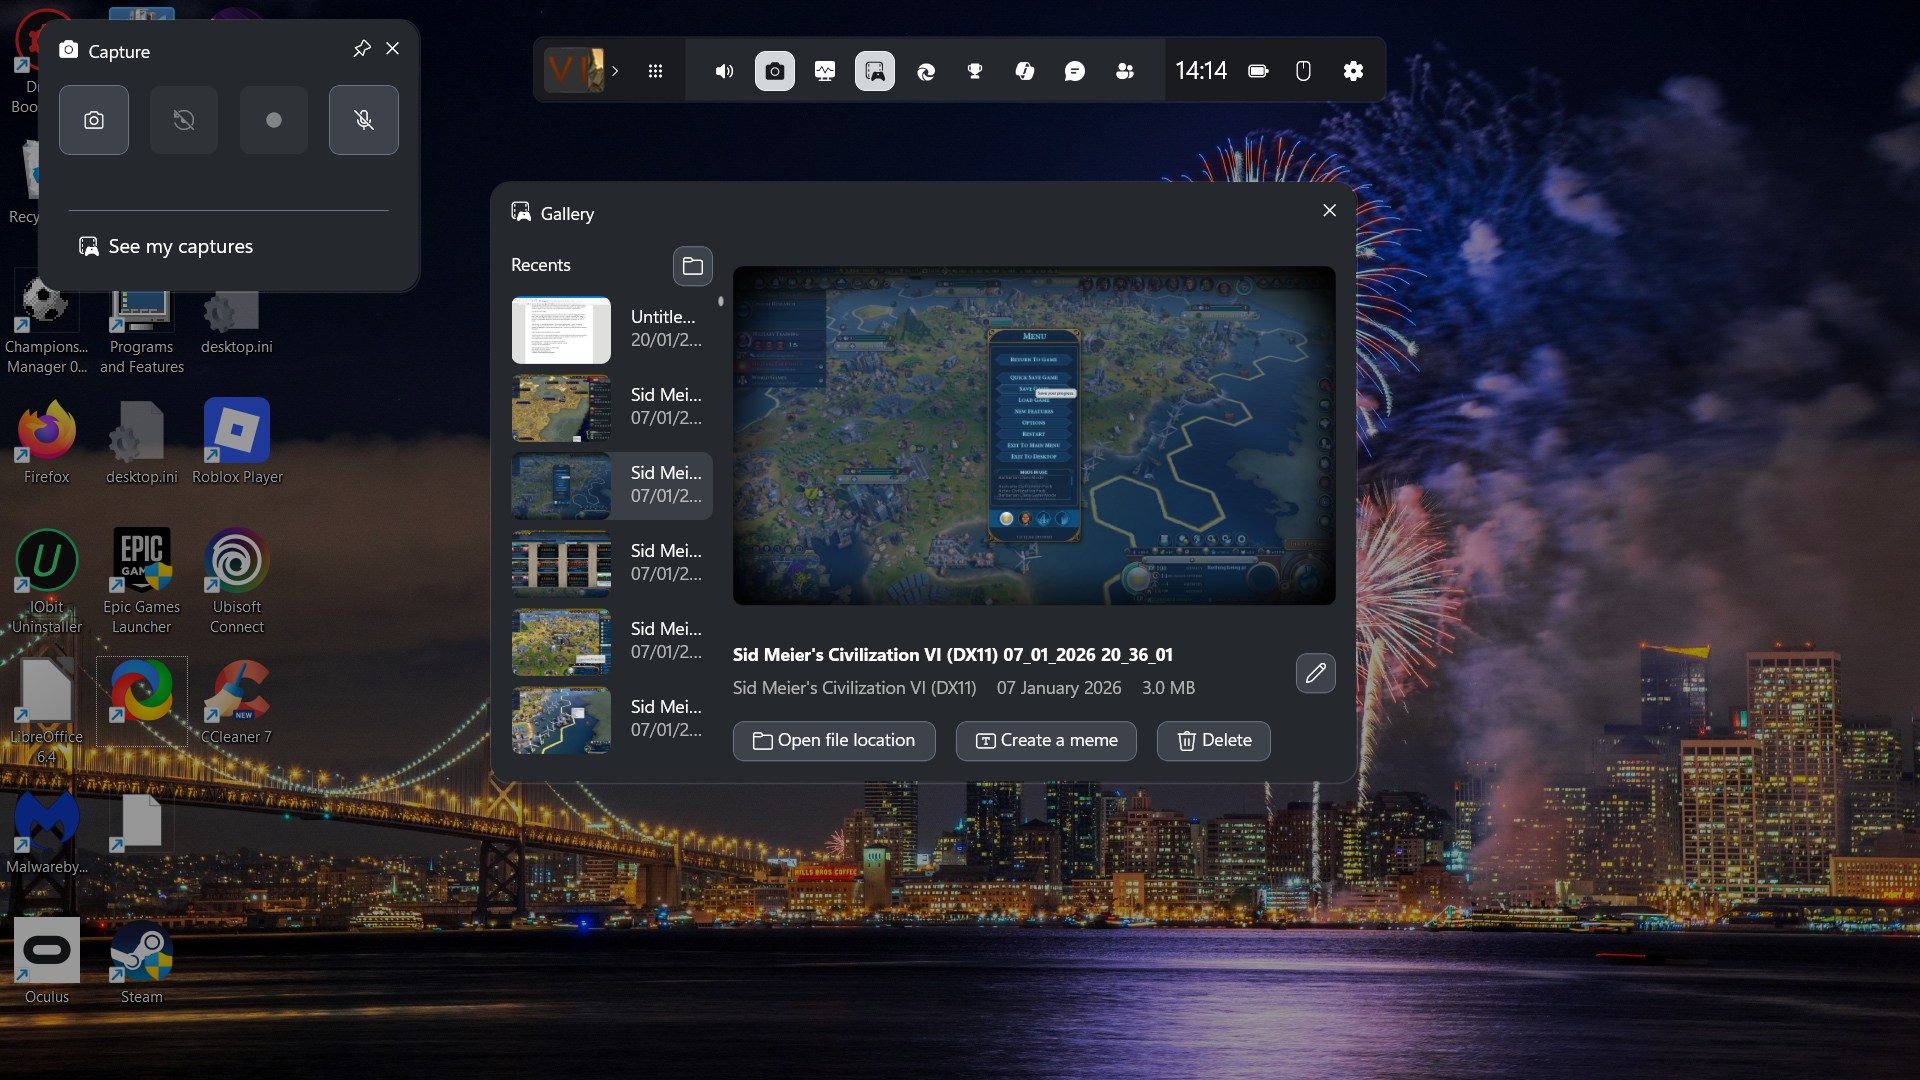
To view your screenshots taken, click on the See my captures option. That opens a window from which you can click on thumbnail previews of screenshots. Click the Open file location option to see where the Game Bar saves the screenshots (C:\Users\[user folder name]\Videos\Captures).
Take Gaming Screenshots With the NVIDIA App
The NVIDIA App (formerly GeForce Experience) is usually pre-installed on PCs with NVIDIA graphics cards. That app has a sidebar overlay feature you can activate, with which you can capture gaming screenshots. However, the overlay needs to be enabled to utilize its screenshot tool. You can turn on the overlay in the NVIDIA App like this:
- Right-click on the NVIDIA Settings icon within the system tray area of the taskbar and select NVIDIA App.
- Select the Settings tab.
- Turn on the NVIDIA overlay by clicking on its toggle switch.
With the overlay enabled, start playing a game and press Alt + Z to activate the NVIDIA overlay. Click the Screenshot option (or press Alt + F1) to capture a snapshot. The NVIDIA App saves gaming screenshots taken to a default Users\[user folder]\Videos\NVIDIA gallery folder location.

Press Steam’s Screenshot Hotkey
Many players have the Steam gaming client installed. Steam includes a screenshot hotkey for capturing game snapshots. The overlay must be enabled in Steam to capture gaming screenshots with that hotkey. This is how you can enable the overlay in Steam:
- Open the Steam software window.
- Click on Steam at the top-left corner of the window.
- Select the In-Game tab.
- Click the toggle switch for Enable the Steam Overlay while in-game to turn that option on.
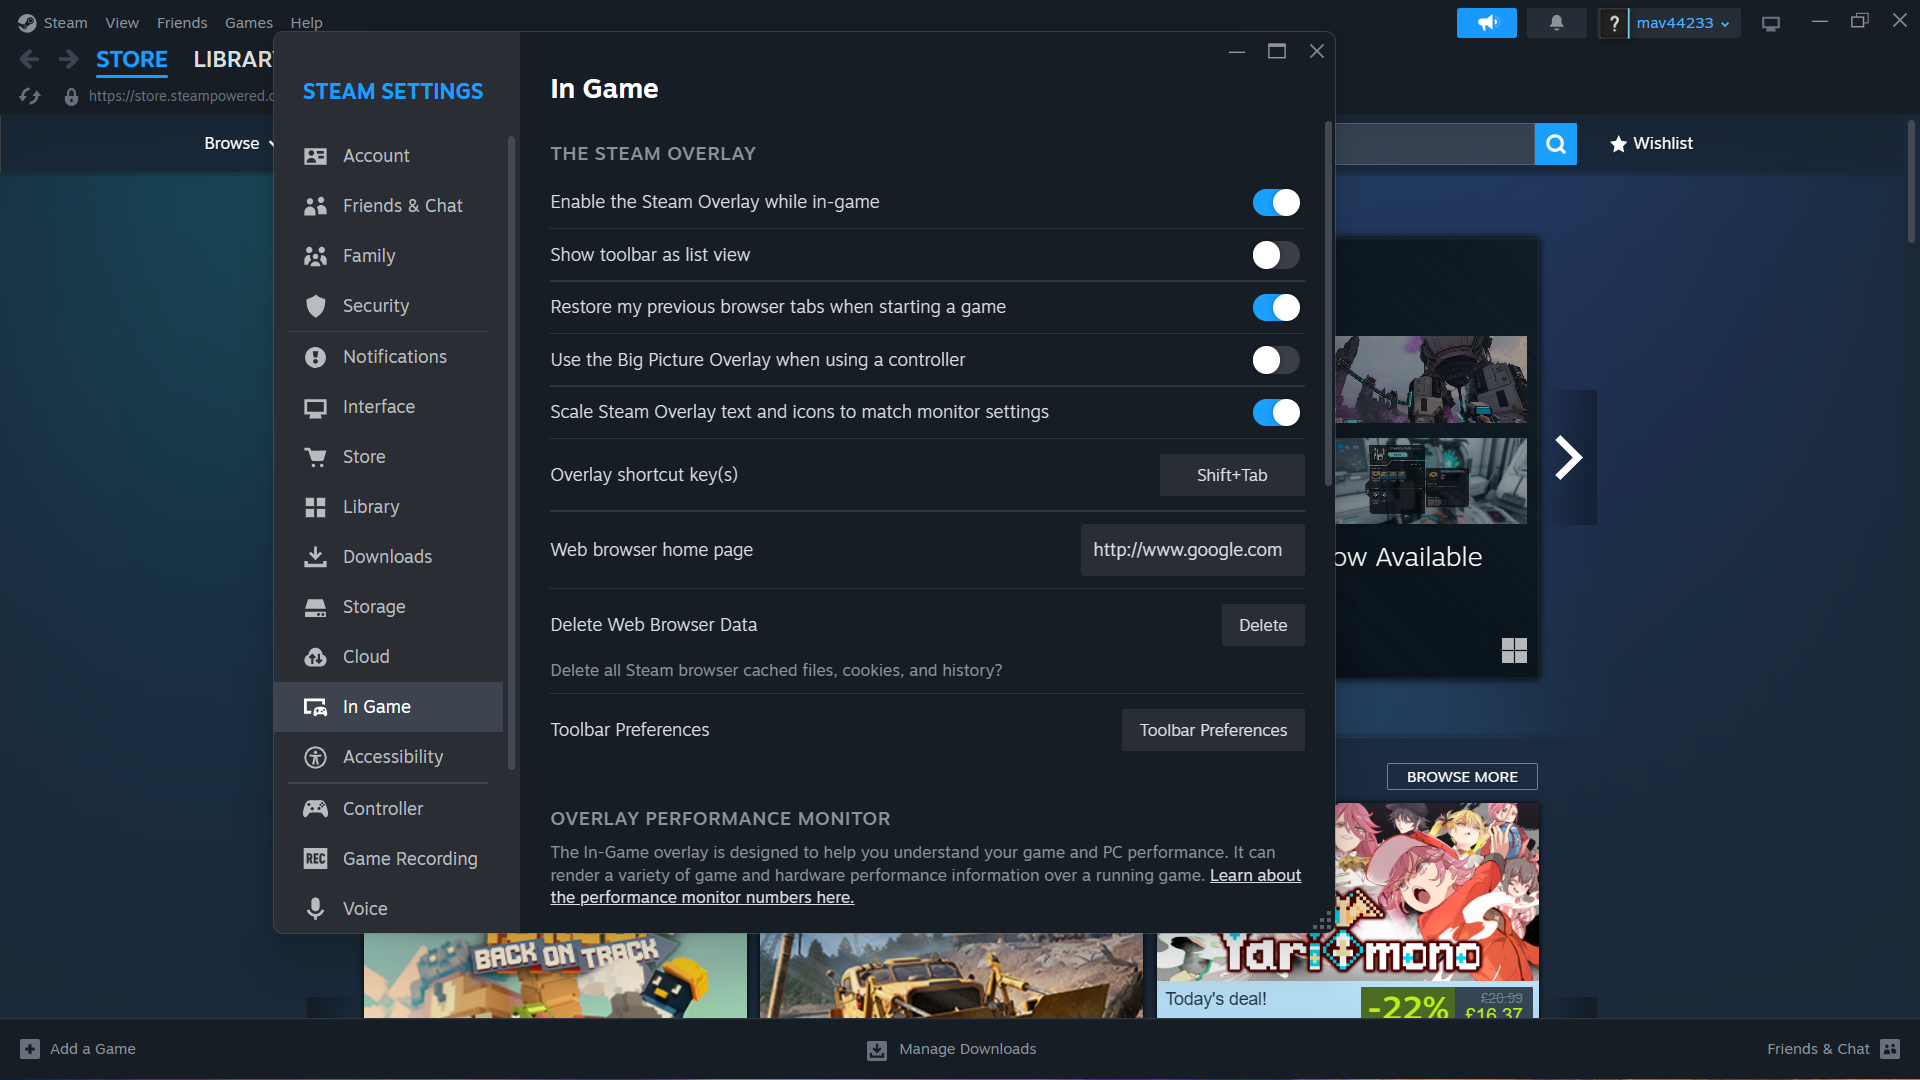
The default Steam hotkey for capturing screenshots is F12. You can change that to an alternative key via the In-Game tab. Click the F12 box for the Take a screenshot option and press an alternative key to set. To see your captured snapshots, click View > Recordings & Screenshot.
Utilize In-Game Screenshot Tools
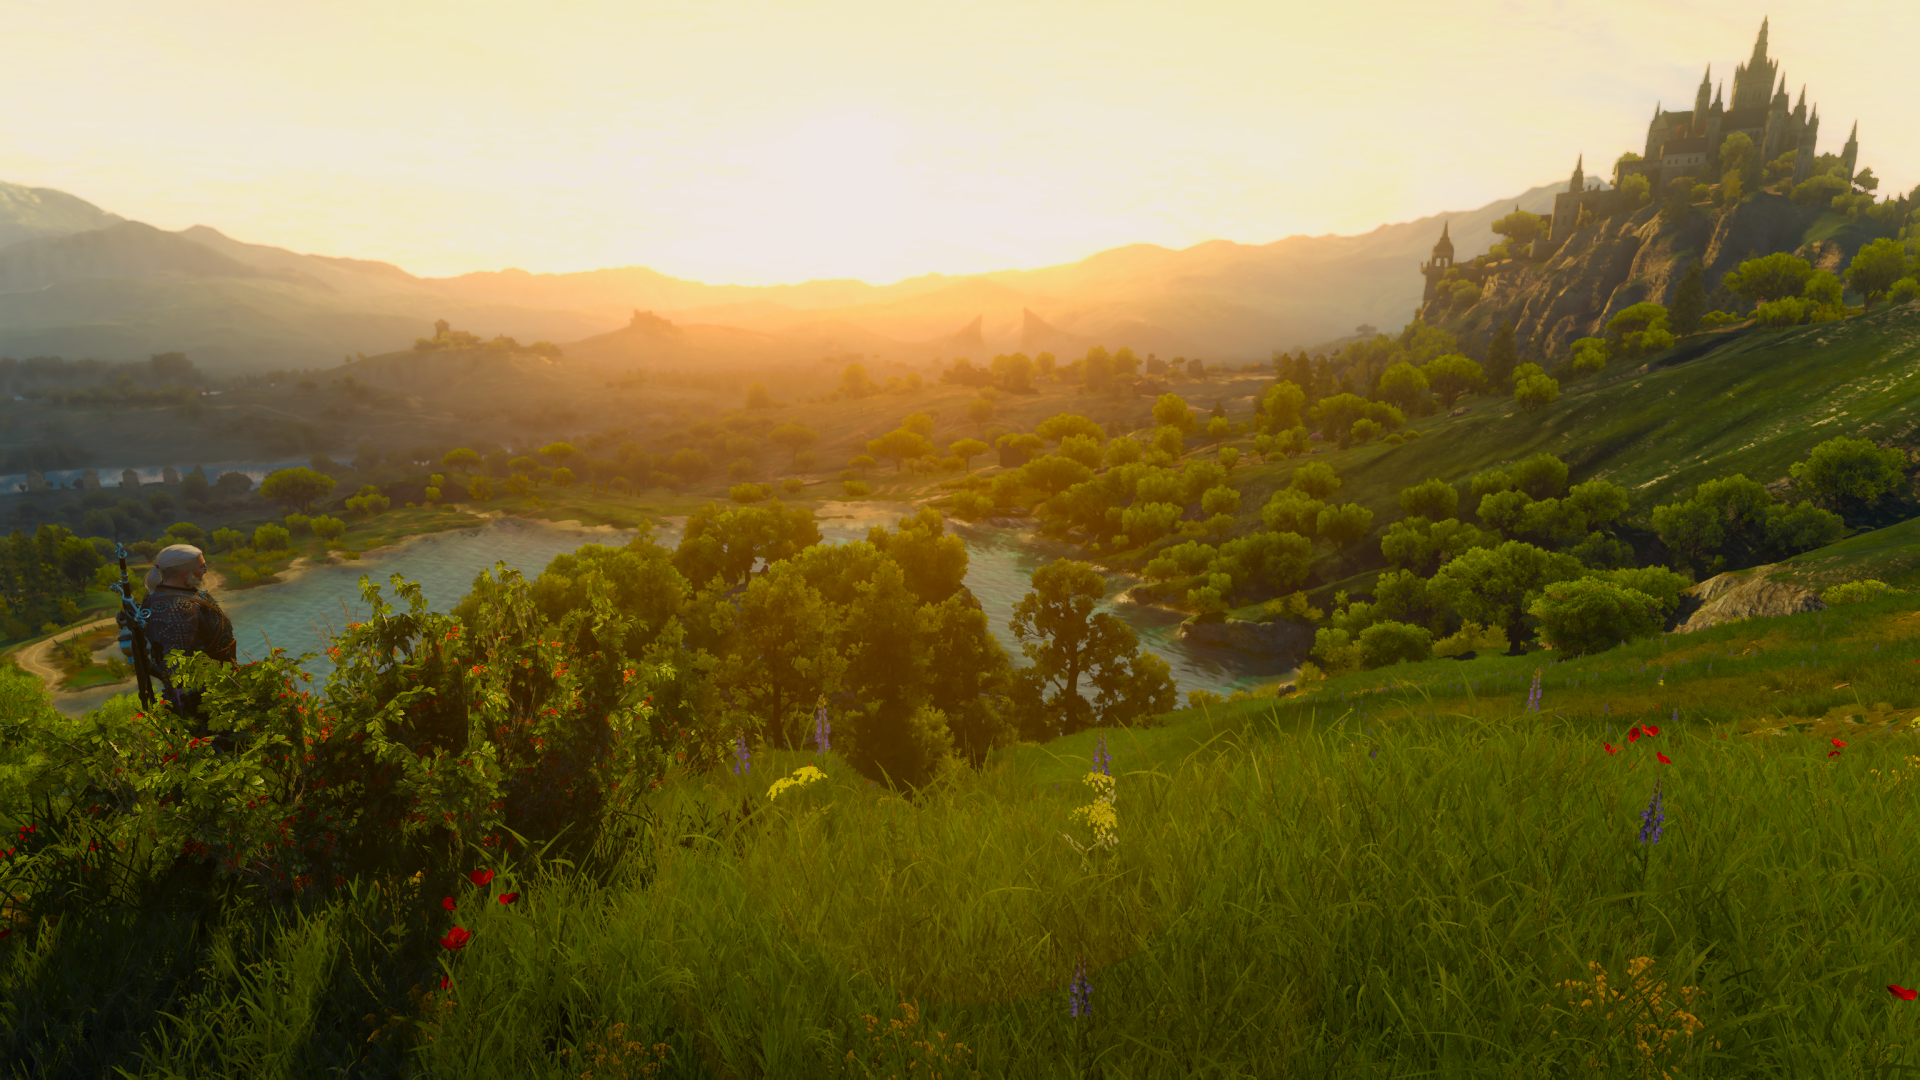
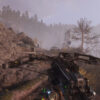
Some games include photo modes, activated by pressing certain keys, with which players can capture gaming screenshots. However, photo mode tools are much more flexible because they enable players to move and rotate the camera for taking screenshots. Some also include options for applying additional editing effects such as exposure, contrast, saturation, and temperature. These are some notable games that include photo modes:
- Witcher 3: Wild Hunt
- Assassin’s Creed: Odyssey
- Death Stranding
- Red Dead Redemption 2
- Cyberpunk 2077
- Forza Horizon 5
- Assassin’s Creed: Valhalla
- Borderlands 3
- Control
- Shadow of the Tomb Raider
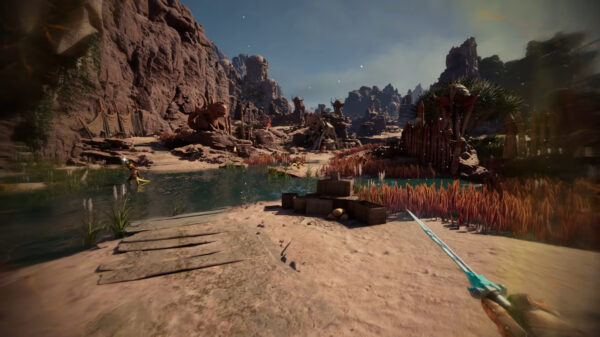
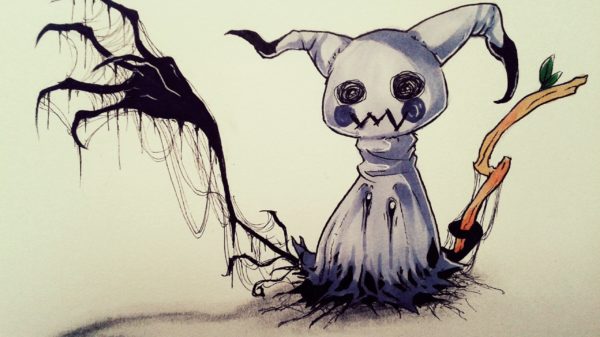
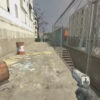
Photo mode tools are ideal for capturing game wallpaper screenshots because they remove the usually visible UI elements. To take a beautiful gaming screenshot for desktop wallpaper, set the game’s graphical options to high settings and then activate its photo mode. Below is an example of a Witcher 3 screenshot I took with that game’s photo mode.
Capture In-Game Snapshots With ShareX
You can also try capturing gaming screenshots with third-party apps like ShareX. ShareX is one of the best freeware screenshot tools for capturing snapshots. It includes options for capturing full-screen and region screenshots, which makes it more flexible than many overlay alternatives. The additional ShareX editing options can also come in handy for annotating screenshots. You can download that software from the ShareX website.
When you’ve installed ShareX, run that software and start a game. Then, you can capture smaller game screenshots with that utility by pressing its Ctrl + Print Screen (PrtScn) hotkey and dragging a rectangle region. Alternatively, press the PrtScn keyboard key to capture full-screen shots.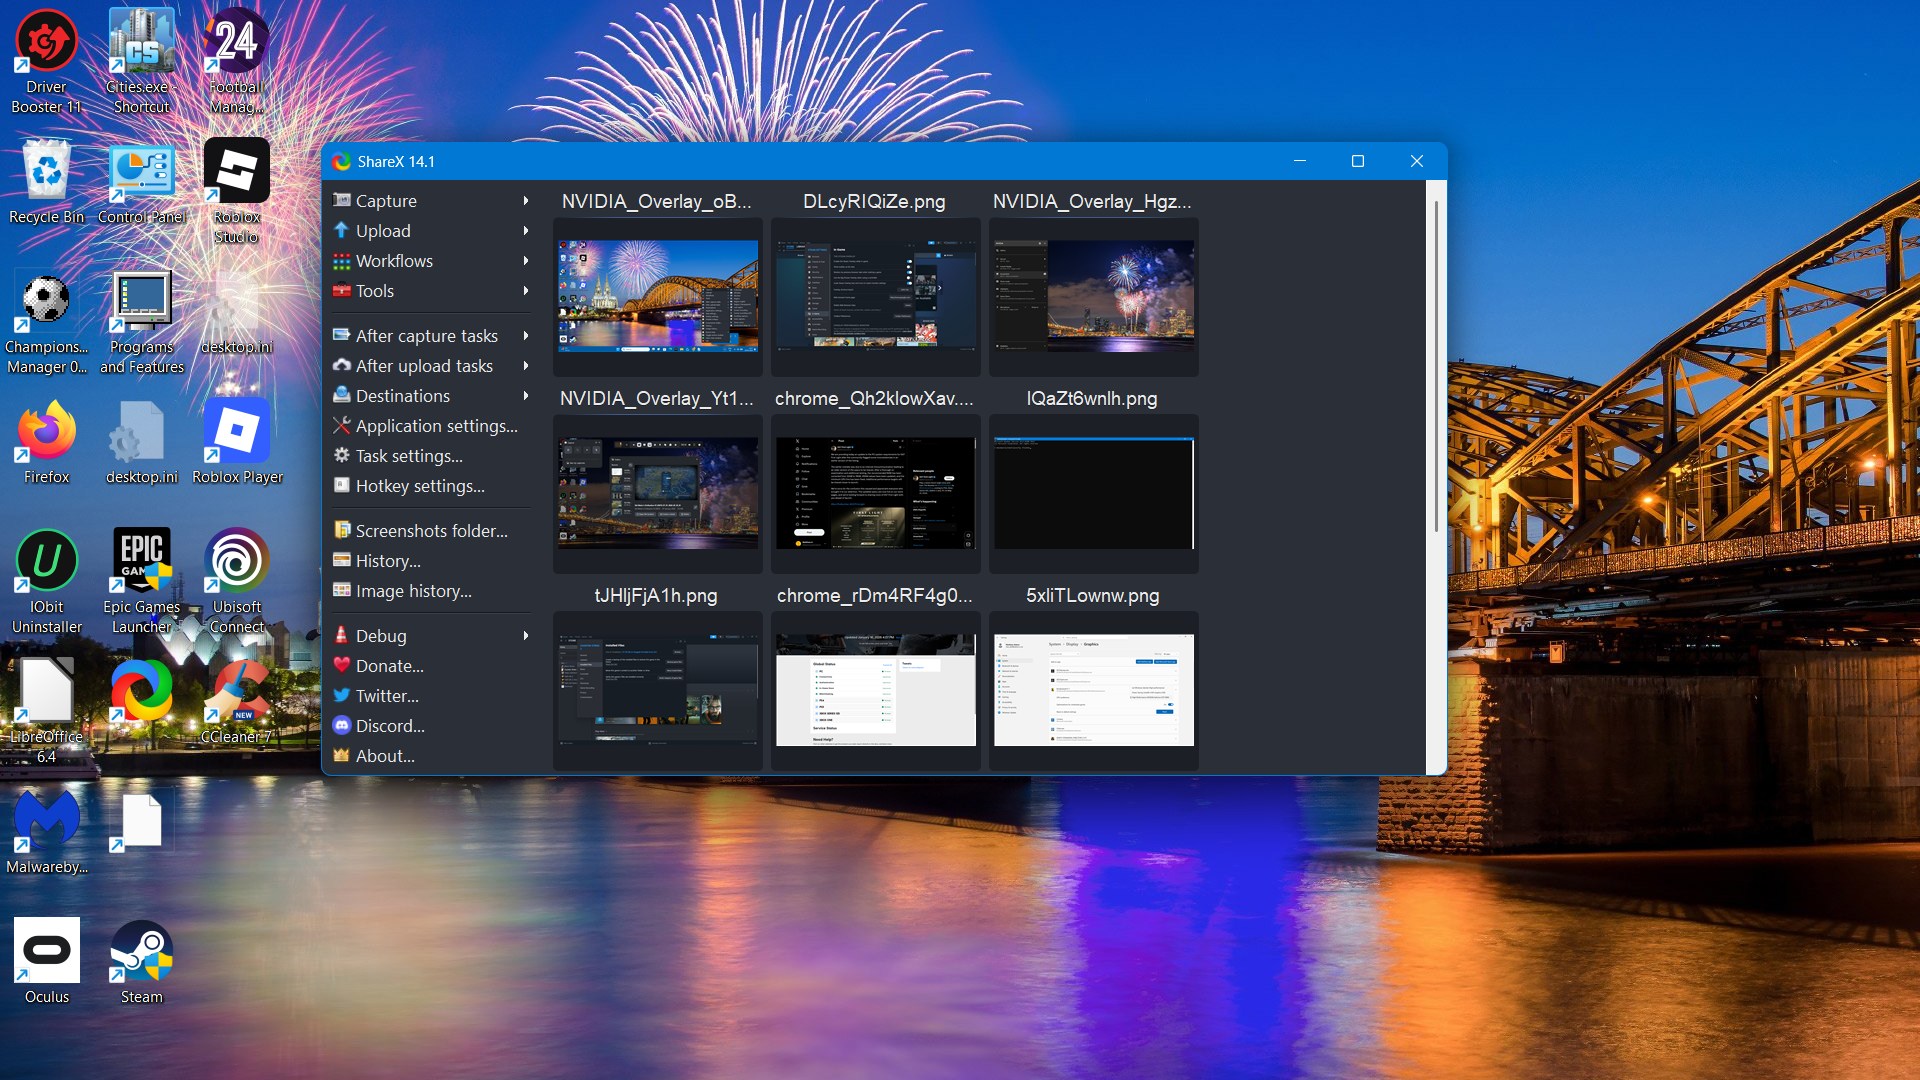
After taking gaming screenshots, you can look through them within the ShareX software. Right-click the ShareX system tray icon and select History to view your saved screenshots. ShareX saves screenshot files to a dated subfolder in the C:\Users\[user folder]\Pictures\Saved Pictures\ folder location.
So, there are numerous ways to capture gaming screenshots on a Windows PC. The Game Bar, Steam, and NVIDIA App provide sufficient tools for capturing full-screen screenshots. However, in-game photo modes and screen-capturing utilities like ShareX provide more options for taking video game snapshots.


You must be logged in to post a comment Login